

How to Use a Heat Management Device: Setup, Charcoal, and Session Length

Summarize this article with AI
Discover the key points with your preferred tool.
The title, article link and text context are sent to your chosen tool.
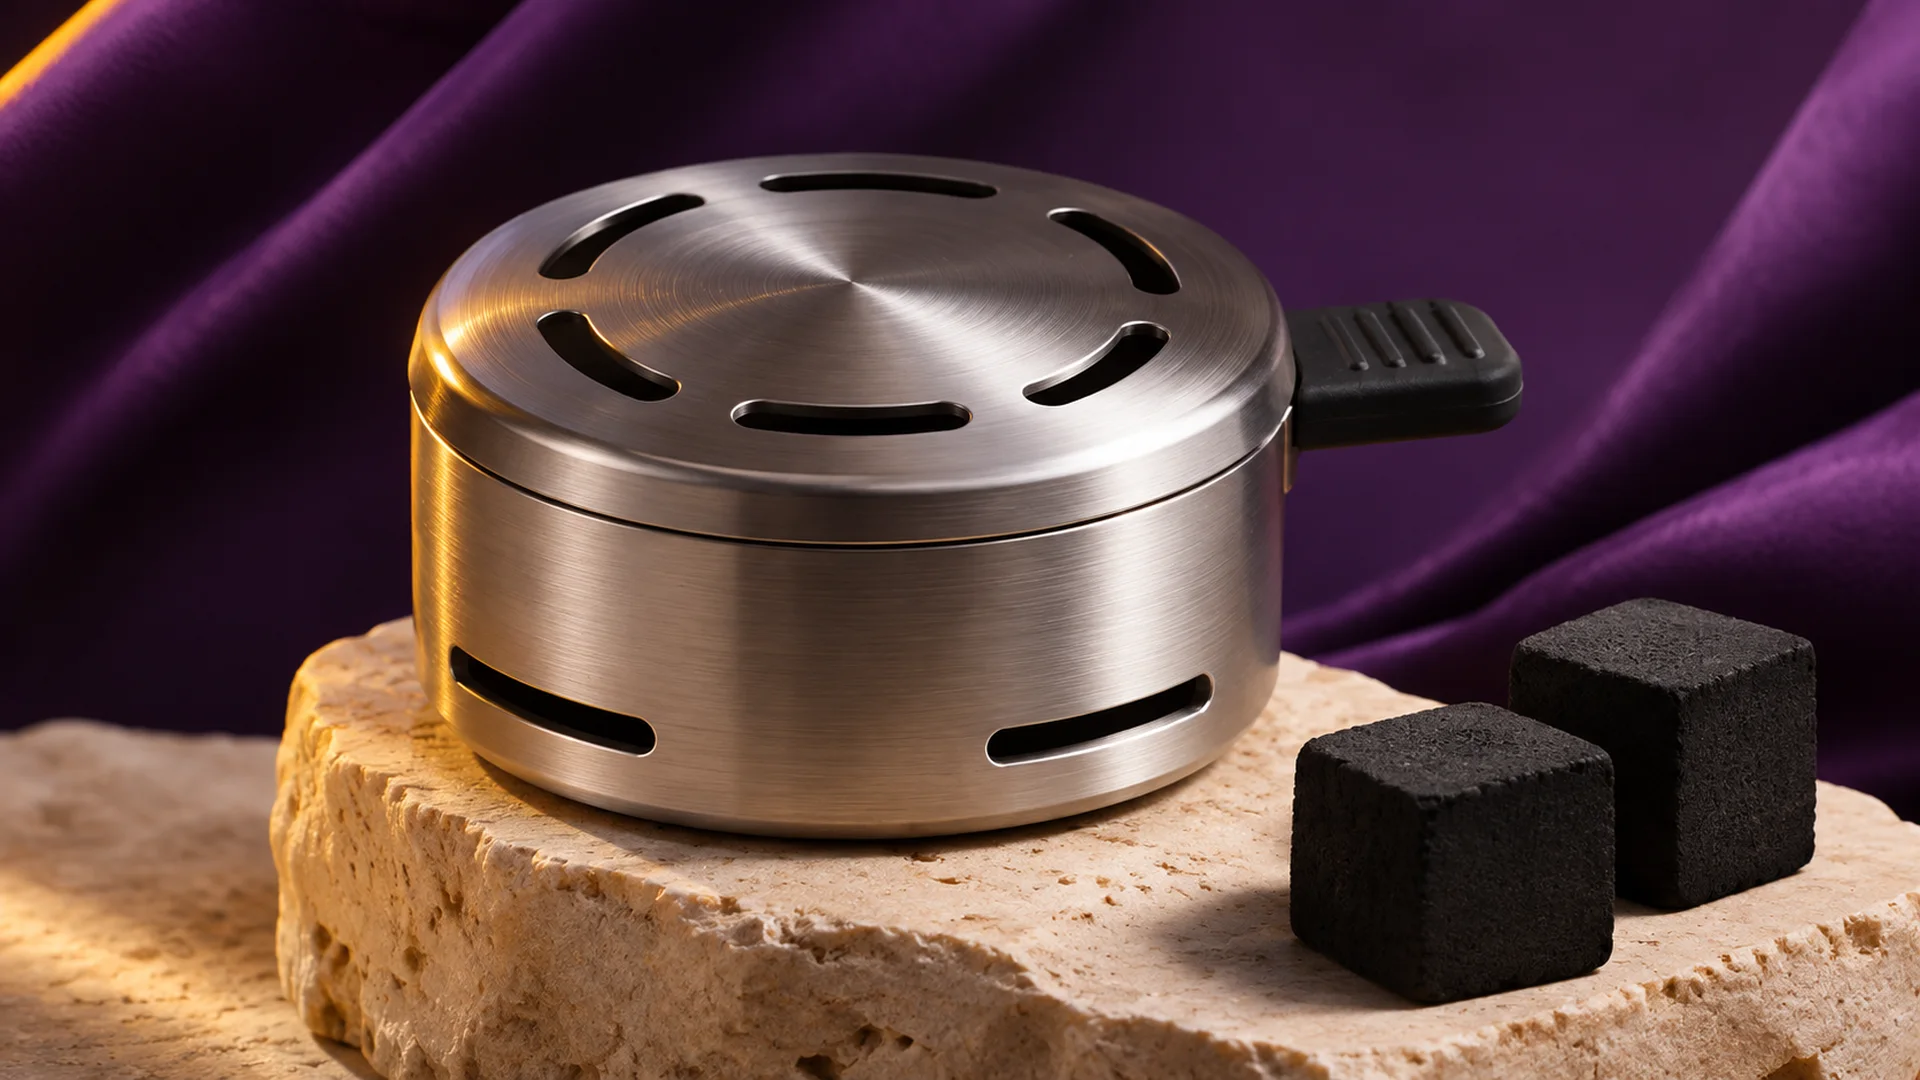
A heat management device (HMD) is a metal cap that holds the charcoal in its own chamber instead of placing it directly on the bowl, passing the heat on indirectly; using it correctly comes down to a clean setup order, starting with less charcoal, and following your model's manual. That's why there is no single, universal answer to “how many coals should I use?” The device's design, the size of the charcoal, and the volume of the bowl all play a part.
This guide covers how the device works, the setup order, general principles for charcoal and airflow, the heat-up and cool-down process, safety, and care. It doesn't give exact coal counts, temperatures, or times; those values vary by model. When your model's manual and this guide disagree, the manual takes priority.
How a heat management device works: indirect heating
In the direct method, the charcoal sits on the bowl or on foil, and heat can concentrate in the area under the coals. With an HMD, the charcoal stays inside a metal body. The charcoal's heat passes first to the metal and from there to the top layer of the bowl.
According to manufacturer descriptions, with each draw air passes by the charcoal and down into the bowl; this airflow is part of how the heat is transferred. In many designs, a lid or vent holes are used to adjust this heat. A closed lid keeps the heat over the bowl.
The practical takeaway is this: charcoal amount, airflow, and waiting time are three linked settings. To read the result correctly, change these settings one at a time and in small steps, not all at once.
Setup order
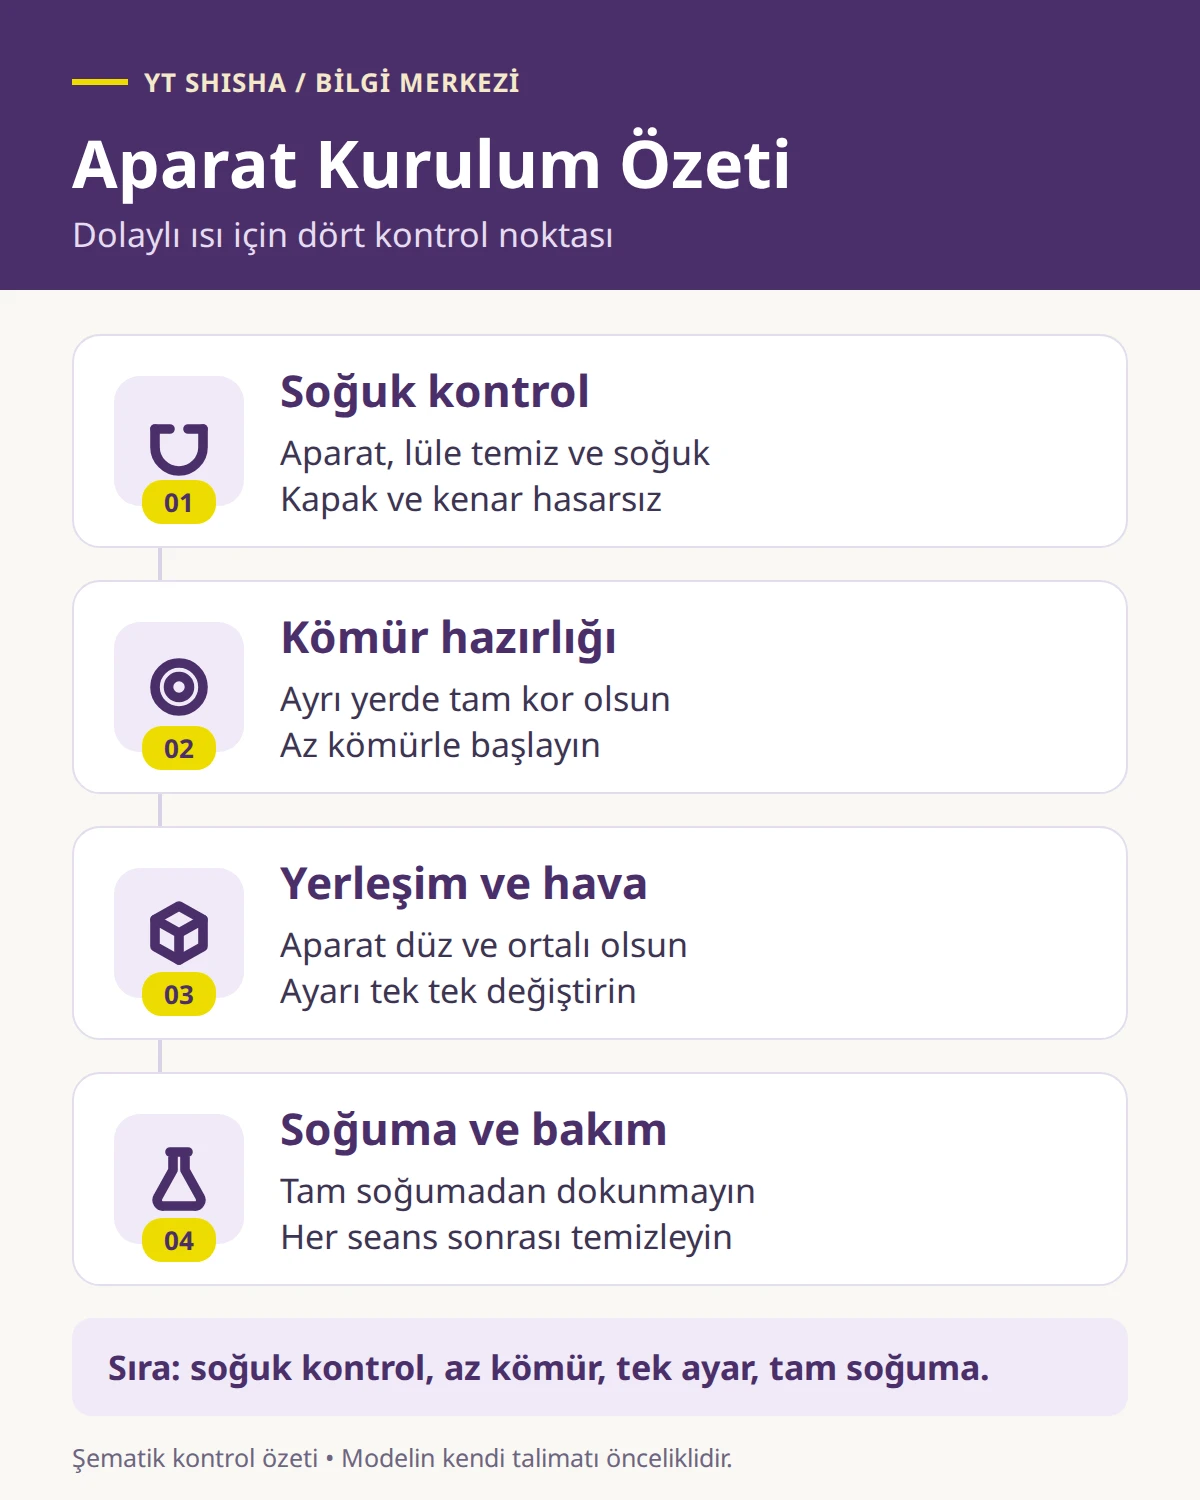
The order below is a general framework; the details of some steps differ by model. Prepare each step while the device and equipment are completely cold, before lighting the charcoal.
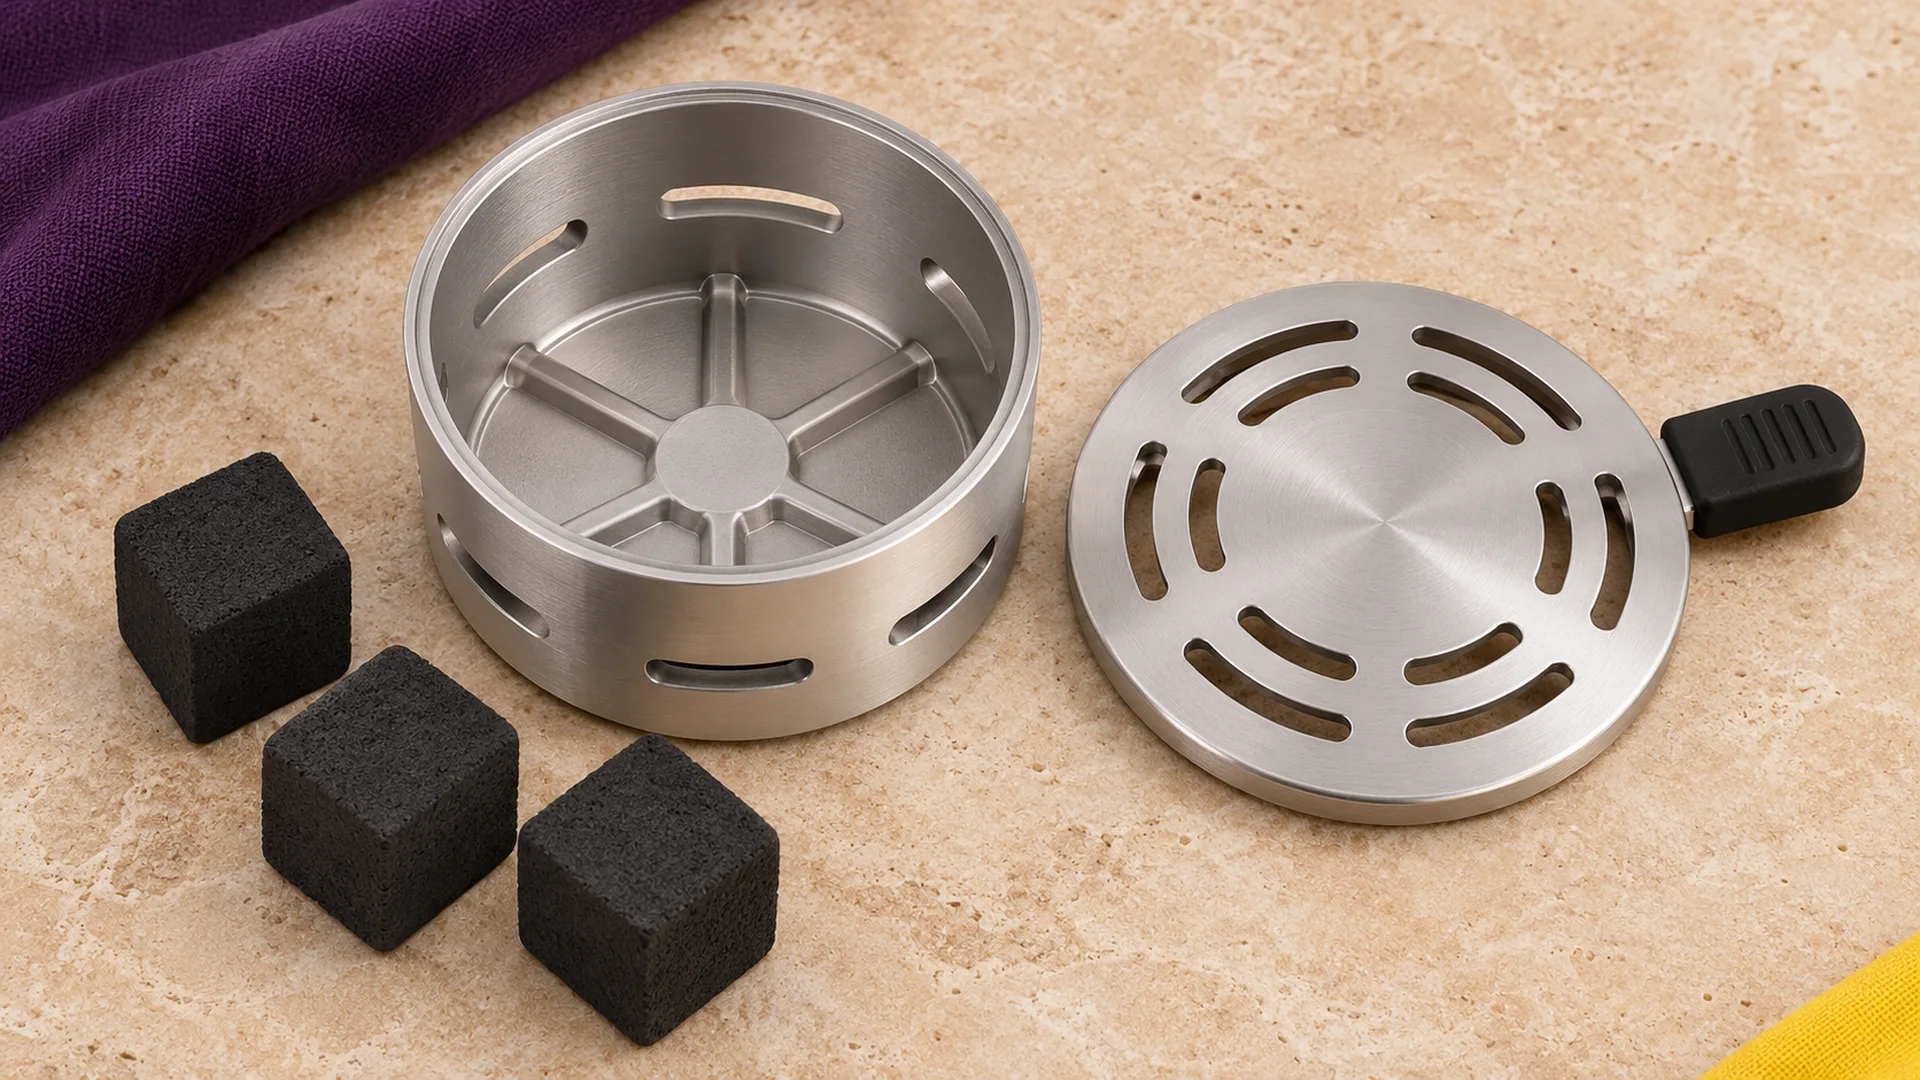
- Check the parts. The device's seating rim should not be bent, the lid should move freely, and the bowl should be free of cracks. If the lid is sticking, see what to do when a heat management device lid is stuck guide.
- Prepare the bowl. Level the surface of the pack the way your model describes. Some manufacturers recommend keeping the surface level with the rim or slightly below it.
- Place the device. Seat the device flat and centered on the bowl; check the manual to see whether foil is needed. If it wobbles or slides, don't add charcoal.
- Light the charcoal separately. Bring the charcoal to a full glow separately from the device, on a fire-resistant surface in an open area. Putting charcoal that isn't ready into the device makes the heat uneven.
- Move the charcoal with tongs. Handle the charcoal only with tongs and place it evenly inside the device. Before closing the lid, make sure the charcoal fits comfortably in the chamber.
- Adjust the lid and vents. The starting position varies by model; different sources recommend different starting settings. Use the position given in the manual.
- Wait and observe. Don't touch the settings before the heat-up time is over; the effect of a change may not show right away.
One manufacturer's FAQ page says the device should not be preheated on a stove or over an open flame and that doing so can damage it. This rule doesn't necessarily apply to other brands, but not trying a heating method the manual doesn't allow is the safest approach.
General principles for charcoal amount, placement, and airflow
Manufacturer sources say the amount of charcoal depends on the device, the charcoal size, and the bowl. The recommended starting approach is to begin with less charcoal and raise the heat gradually if needed. Use the principles below instead of a number.
- Start low Putting in too much charcoal at first and then reducing it is harder than starting with less and adding more. To add, the charcoal also needs to be fully lit.
- Change one variable Add or remove only one coal at a time, or change only the vents. If you change two settings together, you can't tell which one made the difference.
- Mind the charcoal size The charcoal should fit comfortably in the chamber and shouldn't force the lid when closing. Quick-lighting charcoal may contain ignition additives; follow the charcoal's own instructions for use and extinguishing.
- Place it evenly Spread the coals evenly inside the chamber. Charcoal piled into one corner can make the heat uneven.
- Adjust the vents in small steps Which way the vent and lid settings affect the heat can vary by model. One manufacturer's FAQ page describes removing charcoal, opening the holes, or lifting the lid to reduce heat, and adding charcoal or opening the vent holes to increase it. On your own device, observe the effect by waiting and adjusting in small steps.
- Watch out for wind Outdoors, wind can drop the heat quickly. The manufacturer gives the examples of using a wind cover or keeping the lid partly closed in that case.
Writing down the number of coals and the vent setting in a notebook makes it easier to find a starting point next time with the same model and the same bowl. Reset this note when you change bowls; a different hookah bowl may behave differently with heat. If the device rides up on the bowl, see the guide on a bowl riding up Take a look.
Heat-up and cool-down time
After the device is placed, you need to wait for the bowl to heat up. This time varies with the number of coals, the vents, and how the bowl is packed. One manufacturer's FAQ page gives a heat-up range of 5 to 10 minutes; this is only an example and not a time that applies to every model.
There's no fixed number for session length. The glow and size of the charcoal, the airflow, and how the bowl is packed determine how long it lasts. When the heat starts to drop, add new charcoal only once it is fully lit; half-lit charcoal leaves the temperature uneven.
When you're done, treat the device, the charcoal, and the surrounding metal parts as hot. The manufacturer asks that the parts cool completely before cleaning. Don't test whether it has cooled by touching it with your bare hand; dropping the device into cold water or putting it in the fridge is not a solution either.
No number is given for cool-down time, because mass and materials vary widely. When in doubt, waiting is always safer. Checking how the lid moves while the device is cold and empty is a good habit before the next session.
Safety, ash handling, and cleaning
When working with charcoal, most of the risks come from heat and forgotten embers. The points below are general precautions regarding burns, fire, and carbon monoxide.
- Burns Handle the device, the lid, and the charcoal only with tongs and suitable tools. Don't touch them with bare hands; keep children and pets away.
- Cool surface Wash or move the device only once you're sure it has cooled completely. Even if part of the surface seems cool, the inside can stay hot.
- Fire Light charcoal away from flammable materials, curtains, paper, and textiles. Don't leave the area until you're sure the embers are completely out.
- Carbon monoxide The CDC states that charcoal gives off carbon monoxide while burning, whatever its color, and that charcoal should not be burned in enclosed spaces. This guide is not a recommendation for indoor use; go by a well-ventilated open area permitted by the manufacturer and local rules.
- Ash and extinguished charcoal Don't throw ash and charcoal pieces in the trash until you're sure they're completely out and cool. Leaving them in a non-flammable container is a general safety practice; the instructions on your charcoal take priority.
For cleaning, the manufacturer's FAQ page recommends letting the parts cool completely, then using lukewarm water, a mild, unscented dish soap, and a soft brush. Steel wool and abrasive pads are avoided. Stubborn residue may need an extra rinse with permitted products; use whichever cleaner your model allows.
Cleaning the device after every session prevents residue from hardening and making the lid stick. The underside may darken over time; on its own, this doesn't necessarily mean it's deteriorating. After cleaning, rinse and dry the part thoroughly; if you suspect an air leak, check the connections in order with the air leak check sequence guide.
Common mistakes and a quick check
The table below summarizes common mistakes and safer alternatives. It doesn't give a definite diagnosis; it helps you decide where to check first.
| Mistake | Possible result | Safer approach |
|---|---|---|
| Placing charcoal while it's only half lit | Uneven heat, longer heat-up time | Lighting the charcoal separately until it's fully glowing |
| Putting in too much charcoal at the start | Overheating, harder to adjust | Starting with less charcoal and increasing gradually |
| Changing charcoal and vents at the same time | Can't tell which setting made the difference | Changing one variable at a time |
| Preheating the device on a stove or over a flame | Risk of damaging the device | Using the method permitted in the manual |
| Forcing a stuck lid or prying it with a knife | Damage to the rim and surface | Waiting for it to cool, not forcing it, checking the manual or the relevant guide |
| Washing it while hot or dropping it into cold water | Risk of burns, damage to the part | Waiting for it to cool completely |
| Skipping cleaning | Residue buildup, stuck lid | Cleaning with the permitted method after every session |
Pre-session checklist
- Cold and empty The device and bowl are completely cold, charcoal-free, and clean.
- No damage The seating rim, lid, and bowl have been visually checked.
- Right equipment Charcoal, tongs, and a fire-resistant surface are ready; hookah charcoal, heat management devices and tongs and chimney starter products are listed in separate categories for this preparation.
- Safe area Flammable materials, children, and pets are kept away; a well-ventilated area has been chosen.
- Note The charcoal and vent settings from the previous session have been recorded.
Frequently asked questions
How many coals should I put in the device?
There's no universal number. Manufacturer sources state that the amount depends on the device, the charcoal size, and the bowl, and recommend starting with less charcoal. Go by the range in your model's manual.
Should I preheat the device?
That depends on the model. One manufacturer says preheating on a stove or over an open flame can damage the device. If your manual doesn't include preheating, don't try it.
Is it used with foil?
An HMD is usually a cap used in place of foil, and the manufacturer states that foil isn't needed. Still, the design may differ on some models. Follow the placement diagram in your manual.
What should I do if the heat is too high or too low?
Change settings in small steps, one at a time. In one manufacturer's example, if the heat is too high it recommends reducing charcoal or changing the vents or lid, and if it's too low, checking the quality of the glow and adding charcoal if needed. After each change, you need to wait for it to take effect.
Can I wash it right after use?
No. Don't wash or move the device and charcoal until they've cooled completely. Dropping it into cold water is not a safe way to cool it either.
Sources and scope
This guide covers equipment setup, safety, and care; it does not encourage use. Values such as charcoal amount, heat-up time, and preheating vary by manufacturer; your own model's manual takes priority. The common mistakes table and the checklist were prepared for this article.
- Kaloud manufacturer FAQ page: examples covering charcoal adjustment, preheating, cleaning, and cooling.
- Kaloud: what is a heat management device: the indirect heating principle and general usage guidelines.
- CDC carbon monoxide page: that charcoal should not be burned in enclosed spaces.