

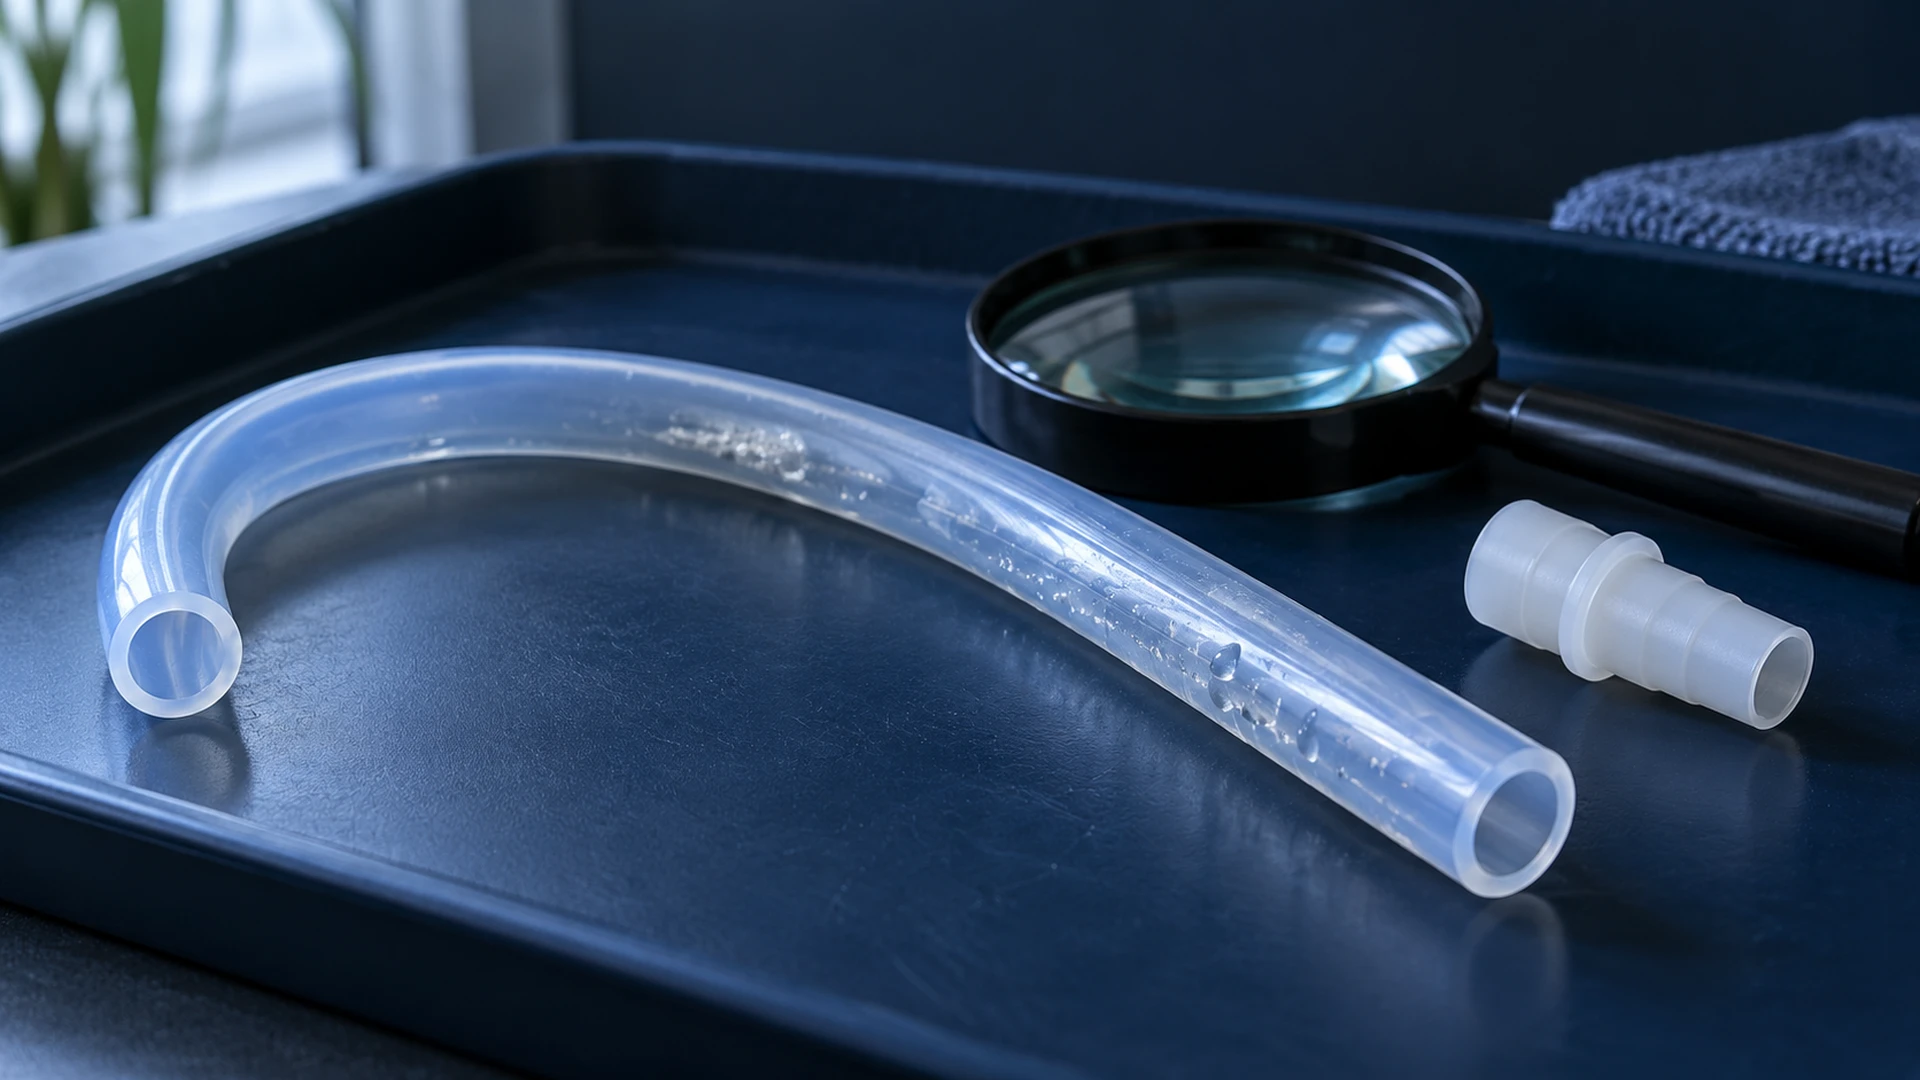




What to do about persistent odors or mold in a silicone hose

Summarize this article with AI
Discover the key points with your preferred tool.
The title, article link and text context are sent to your chosen tool.
If a silicone hose has visible growth, persistent odor, or internal surface deterioration, separate the part and assess its condition. Masking the odor with perfume, trying strong chemicals, or assuming it is clean because it looks clearer is inappropriate. The growth cannot be definitively identified from a photo. Do not assume a hose is suitable for reuse if its internal channel cannot be adequately inspected, cleaned, and dried according to the manufacturer’s instructions.
First separate the part from the others
Do not put the affected hose back in the box with clean parts. First keep it separately without losing the evidence on it. Emptying its contents into your hand, brushing it dry, or bringing it close to your face to smell it are not inspection methods. Photograph visible areas from a normal working distance. Also note how the hose was stored; the history of a closed, damp bag is part of the assessment.
To determine whether the odor actually comes from the hose, assess the mouthpiece, adapter, and storage container separately. Washing and reassembling them indiscriminately may leave the affected part unclear. Do not try to open sections the manufacturer does not permit you to remove. Separating a suspicious part does not mean making a definitive diagnosis at home; it means arranging things to prevent it from mixing with other clean parts.

Odor and visible growth are different findings
Persistent odor alone does not prove mold. A dark area on the inner wall cannot be identified from appearance alone either. This uncertainty is not a reason to dismiss the finding. On the contrary, describe the situation clearly without giving it a definitive name. Color, location, distribution, and the date first noticed may be more useful than a speculative label.
Also check the hose for stickiness, hardening, cracks, or particles coming off. Assess these separately from odor. A treatment that only removes odor may not reverse material changes. If you cannot see the entire inner wall, do not assume unseen areas are in the same condition or entirely free of problems. Verify the part’s care limitations using its model information.
What home cleaning does not verify
A lighter-looking surface does not show that every section of the internal channel was reached. Clear rinse water does not resolve every uncertainty either. It is difficult to judge maintenance coverage from external appearance, especially in a multilayer hose or one with a narrow interior. Therefore, do not base suitability for reuse after cleaning solely on odor or water color. Follow the care conditions the manufacturer can specify.
In its general mold cleaning guidance, the EPA states that killing growth alone is insufficient and that the moisture problem must be addressed. This is not an approved disinfection method for a hookah hose. Do not derive a bleach concentration or soaking duration from it. If the hose lacks its own instructions, do not adapt a building-cleaning method to the internal channel; different applications require different assessments.
The problem is not resolved without changing storage conditions
If the hose was previously enclosed while damp, addressing the part alone is insufficient. Also check the bag interior, support materials, and parts stored together. If a container is washable, care for it according to its own instructions. Do not put dirty or damp cloths back under clean parts. Merely airing out a smelly bag may not show that the source has been removed.
Keep the new arrangement as simple as possible. Designate a separate drying place for cleaned parts. Before enclosed storage, inspect areas where internal dryness can be checked. Do not hurriedly coil and store a part whose dryness is uncertain. If the problem recurs, investigate where uncertainty remains in the care process and what solution the manufacturer recommends instead of seeking a stronger cleaner.
Verify the part's care information with the right source
Two parts that look alike are not necessarily suitable for the same care method. One may have paint on its outer surface while the other is uncoated. An added ring at a connection, hidden adhesive, or an inner layer that cannot be removed may also affect which method is appropriate. Do not decide based only on a photo, color, or the general name of the product range. Identify the specific model of the part and its production series, if available.
Look for the cleaning section in the user manual. Check whether it clearly states which sections can be separated, whether water contact is permitted, which cleaners may be used and how to dry the part. If a sentence refers only to the body, do not extend that permission to the hose, glass or decorated section. If the explanation is incomplete, set the part aside and request written information instead of guessing.
Include the model name, a photograph of the entire part and a close-up of the problem with your request for information. Also explain any previous treatment. Instead of simply asking how to clean it, ask specific questions such as whether this surface can be submerged, whether the connection should be disassembled and which products should be avoided. Keep the reply with the part's care notes.
Prepare the cleaning area before bringing in the parts
Stacking many parts on the edge of a narrow sink does not make the job easier. First remove glasses, food, electrical appliances and unnecessary tools from the counter. Make sure the work area is dry, well lit and allows room to move. Avoid having to open doors or search for space while carrying parts. In particular, designate separate spaces for glass and heavy metal sections in advance.
Separate the area for uncleaned parts from the area for rinsed parts. You can do this with two clean trays or different sides of the counter. Check that a dirty cloth has not ended up underneath a clean part. Cloths and brushes must be free of sand, wire or hard residue from previous work. An unsuitable tool can leave new marks on the surface you are trying to clean.
If you need to take a break, do not leave parts in a walkway. Choose a stable location out of reach of children and pets. Keep small parts in a labeled container. If you are working on multiple sets, group each set's parts separately. This prevents parts from getting mixed up during maintenance and helps you remember where each connector belongs.
Do not judge dryness by the outer surface alone
Moisture can remain in the internal cavities of a part that looks dry on the outside. The bases of connections, narrow channels and surfaces touching each other should be checked separately. Separating sections that the manufacturer allows you to detach makes this inspection easier. Do not force open a connection that is not meant to be opened just to make it dry faster. If it is unclear what to do with sections that cannot be disassembled, ask the manufacturer for guidance.
After rinsing, do not try to dry the part by shaking it, striking it against a hard surface or pulling its edge. Collect draining water in a suitable container and support the part so it cannot tip over. Leave it in a clean area with air circulation. Direct heat, a hair dryer or a radiator should only be considered if expressly permitted by the product's own instructions; they cannot be presented as general drying methods.
It is not appropriate to give a drying time that applies to everyone. The part's shape, internal volume and surrounding conditions vary. Instead of rushing, inspect visible areas again for droplets or pooled water. Do not put a part in a closed box if you are unsure about its interior. Keep the designated drying area clean too; leaving the part on a dirty cloth may mean having to start the completed process again.
Prepare a clear question when requesting support
When uncertain, gather information instead of repeating the same treatment. The part’s model, age, material description, and any previous repairs may change the assessment. Sending only an overall photo may be insufficient. State the affected section’s location, when the change was noticed, and whether it has grown since. Do not apply another treatment to check the part.
Keep three questions explicit in your message: What care can be applied to this part? Does the visible change require inspection? How should it be stored until assessment is complete? If the reply contains only general cleaning advice, request a separate explanation of the material or damage issue you asked about. Also check that instructions for another model were not sent by mistake.
After receiving a reply, compare the procedure with your own conditions. If the required tools, environment, or protection cannot be provided, do not improvise an approximate method. If technical inspection is needed, ask for packaging instructions for safe delivery. Add the written guidance to your maintenance record so a later recurrence does not force you to rely on a partially remembered conversation.
How to assess odors from the bag separately
For example, imagine the hose was kept in a closed bag for a long time and an odor was noticed when the bag was opened. Do not interpret the odor as meaning all parts have the same problem. Assess the hose, mouthpiece, and bag separately. Record visible marks and their locations. Set aside a separate area for the suspicious part instead of placing it directly on a clean counter. If the bag lining has changed, do not simply clean the hose and return it to the same packaging. Ask the manufacturer about both part care and storage until assessment is complete. This approach does not determine the odor’s exact cause; it prevents potentially different problems from being lost within a single washing process.

Frequently asked questions
Can I use scented products to remove the odor?
Masking an odor with another scent makes its source harder to assess. Do not apply a product unless it is explicitly stated to be suitable for the internal channel. A new lingering scent creates another uncertainty. If the problem persists after following the manufacturer’s instructions, request an assessment instead of trying different products in succession.
Does boiling solve every problem?
No. Boiling cannot be recommended without knowing whether all the materials in the hose are suitable for this process. Connections or inner layers may differ from the outer surface. The disappearance of visible growth alone also does not confirm the condition of the material. Do not regard heat treatments that are not included in the product’s own care instructions as a guarantee.
Is there a fixed replacement interval for every hose?
No single interval applies to all products. Materials, use, and care conditions differ; review the model instructions separately. If visible deterioration or unresolved uncertainty is present, do not wait because the scheduled interval has not elapsed. Remember that timing information does not replace an examination of the part’s current condition.