

Why Does a Glass Hookah Base Crack?

Summarize this article with AI
Discover the key points with your preferred tool.
The title, article link and text context are sent to your chosen tool.
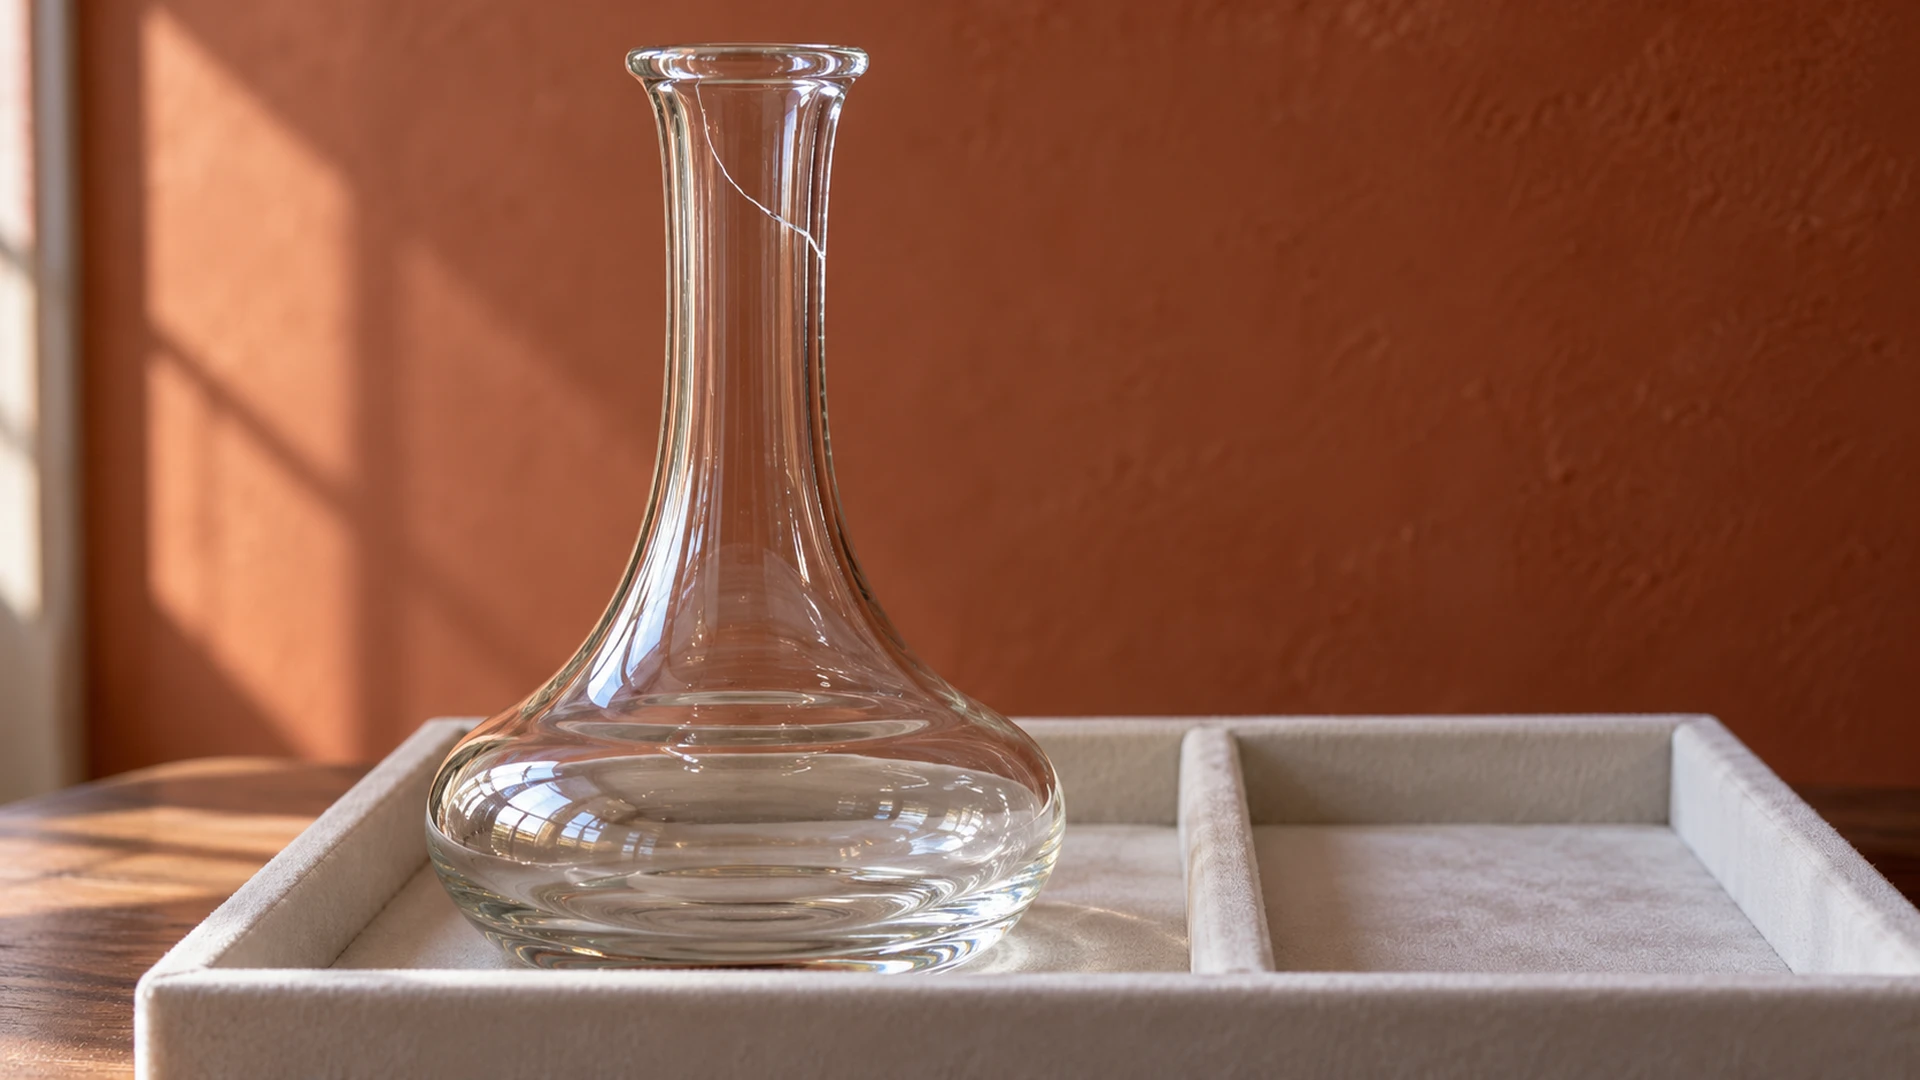
If you notice a crack in a glass hookah base, take it out of use and do not feel along its edges with your hands. Impact, a jammed connection, and sudden temperature changes are possible factors; the exact cause cannot be stated without inspection. Do not test the crack with boiling water, tapping, or squeezing. Gluing the base does not establish that it is suitable for functional use again. Safe storage and a manufacturer's assessment come first.
The limits of visually distinguishing a crack from a surface mark
Not every line on glass means the same thing. A surface scratch, a manufacturing mark, an attached decoration, or a crack can look similar from the outside. Still, it is not appropriate to assume an unclear line is harmless. Set the part aside and photograph it on a well-lit surface, minimizing movement. Clearly show how close the line is to the mouth, base, or a connection point.
Do not use a fingernail or needle to determine the depth of a line. Tapping the base and listening to the sound is also not a check recommended by this guide. The essential approach is observation without putting stress on an unknown defect. Visual records do not establish a diagnosis; they let you convey what you saw to the manufacturer without altering it. Do not assume the part is sound while a suspected crack remains unresolved.

Impact does not always mean falling on the floor
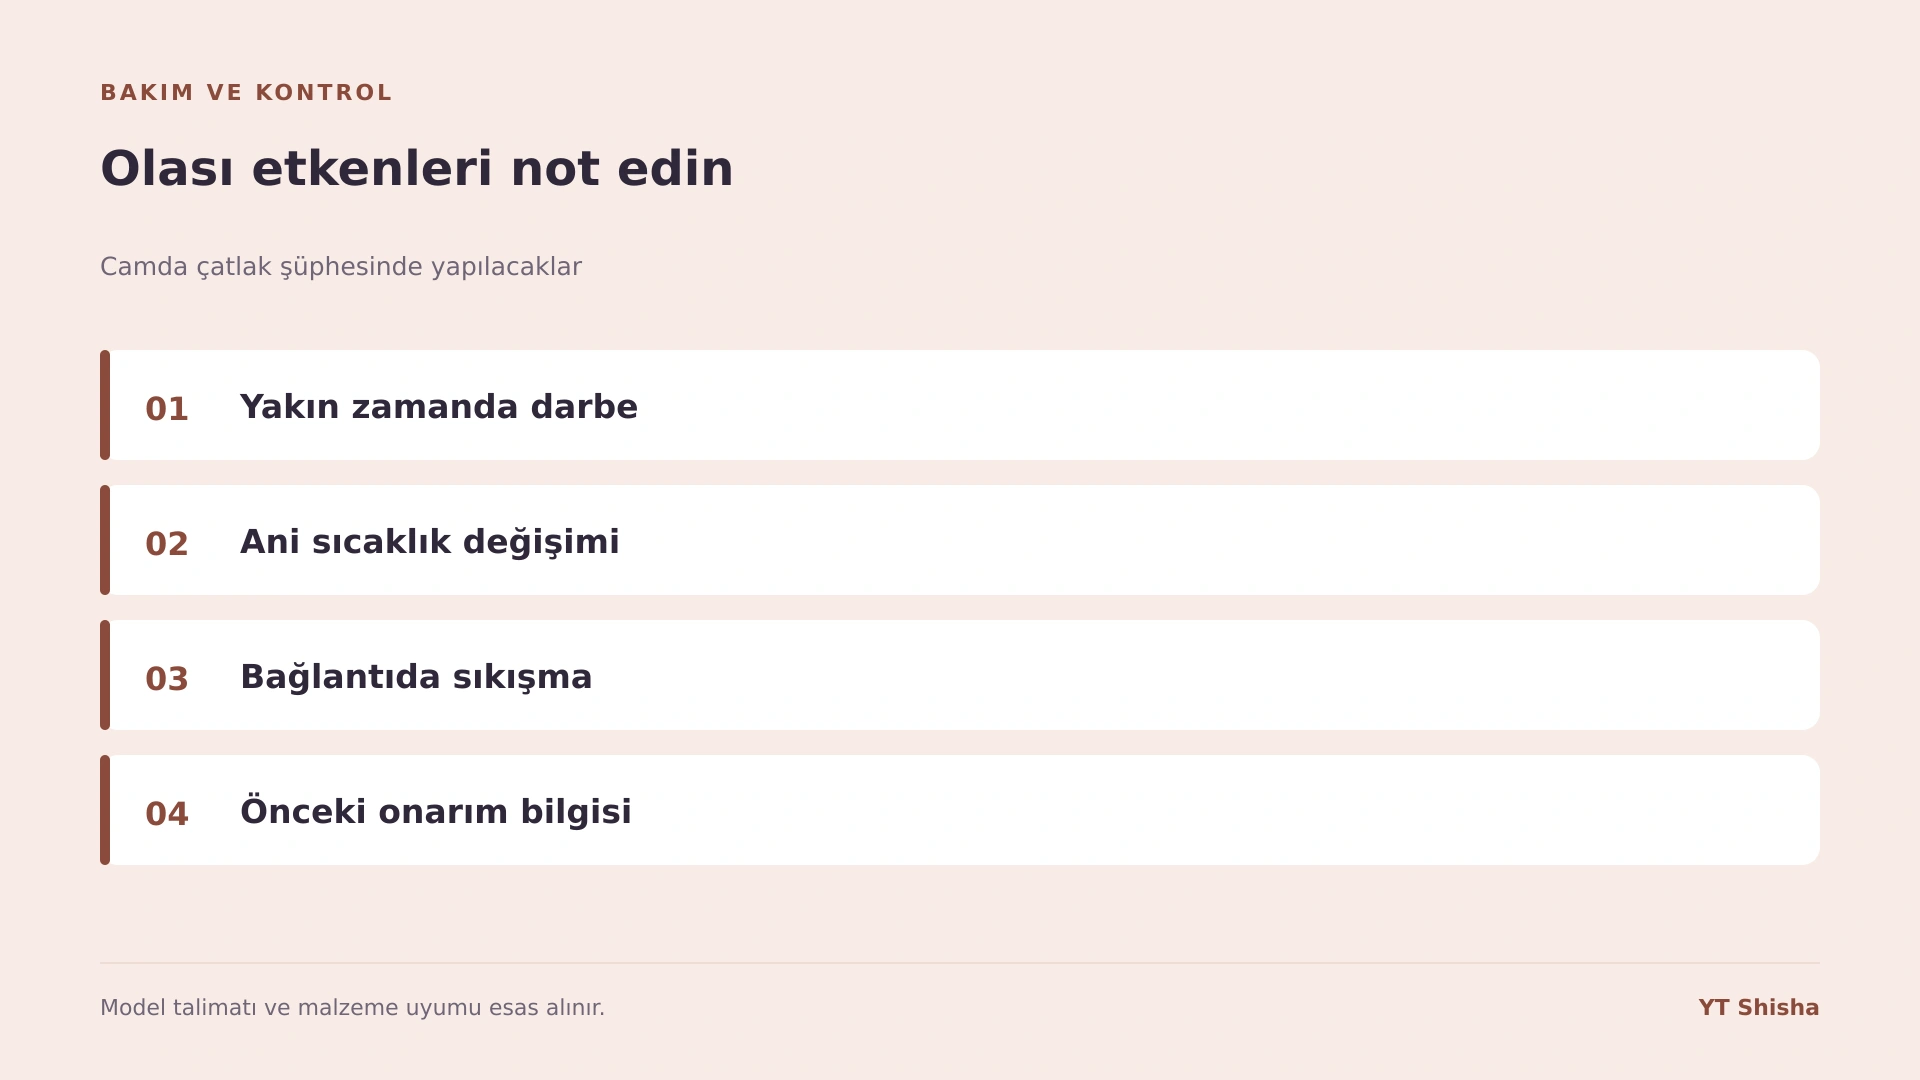
Even if the base was not dropped, it may have hit a sink edge, a metal part, or another object in a cabinet. Incidents such as setting it on the counter during cleaning or brushing a doorway while carrying it are easily forgotten. Review recent events for the assessment. Information about who carried the base and in what surroundings can help explain possible factors.
The defect appearing at the point of most recent contact does not establish a definitive cause either. Describe any impact history without concealing it, but without presenting it as a diagnosis. Stress on a connection may lead you to notice a mark that had not been observed before. Do not reenact the incident to resolve this uncertainty. Striking or tightening it in the same way could worsen the part's condition.
Why sudden temperature changes are assessed separately
Glass resistance to temperature changes may vary with its type, manufacturing, and current condition. A thick or heavy base is not necessarily suitable for boiling water. Do not pour very hot water into a cold base without knowing the manufacturer’s temperature limit. Conversely, rapidly cooling a hot part with cold water is not a routine maintenance step either.
The aim here is not to say that every crack is caused by temperature. It is to record what water was used during the last cleaning and where the part had previously been stored. Do not try to confirm unclear marks on glass with a temperature test. A part's having withstood similar treatment in the past does not guarantee its strength for another application. Consider the period before the current damage was visible separately from the period afterward.
Pay Attention to Pressure around the Neck and Connection
If a narrow connection is stuck, stop rather than applying force. Pulling the base away by the body or bracing it against a hard surface and twisting it may put extra strain on an unknown defect. Follow the disassembly instructions for that connection. Before trying to loosen a stuck section with oil, solvent, or a sudden temperature change, ask the manufacturer for the correct method.
If the base rim is chipped, rough, or cracked, do not try to fix it by hand. Deciding whether sanding or gluing can make the connection usable again is not something to do at home. Cosmetic appearance and structural integrity are separate issues. Especially in an area that bears connection loads, do not judge the significance of a seemingly small defect solely by its size in a photo. Determining whether the part is suitable for reuse may require a technical inspection.
Inspect visually without damaging the surface
No aggressive treatment is needed during inspection. Put the part on a stable surface, provide adequate light, and look from different angles. Do not scrape the surface to reveal a hidden detail. Testing with a fingernail, needle, or metal tip may create a new mark and make it harder afterward to distinguish which marks were originally present.
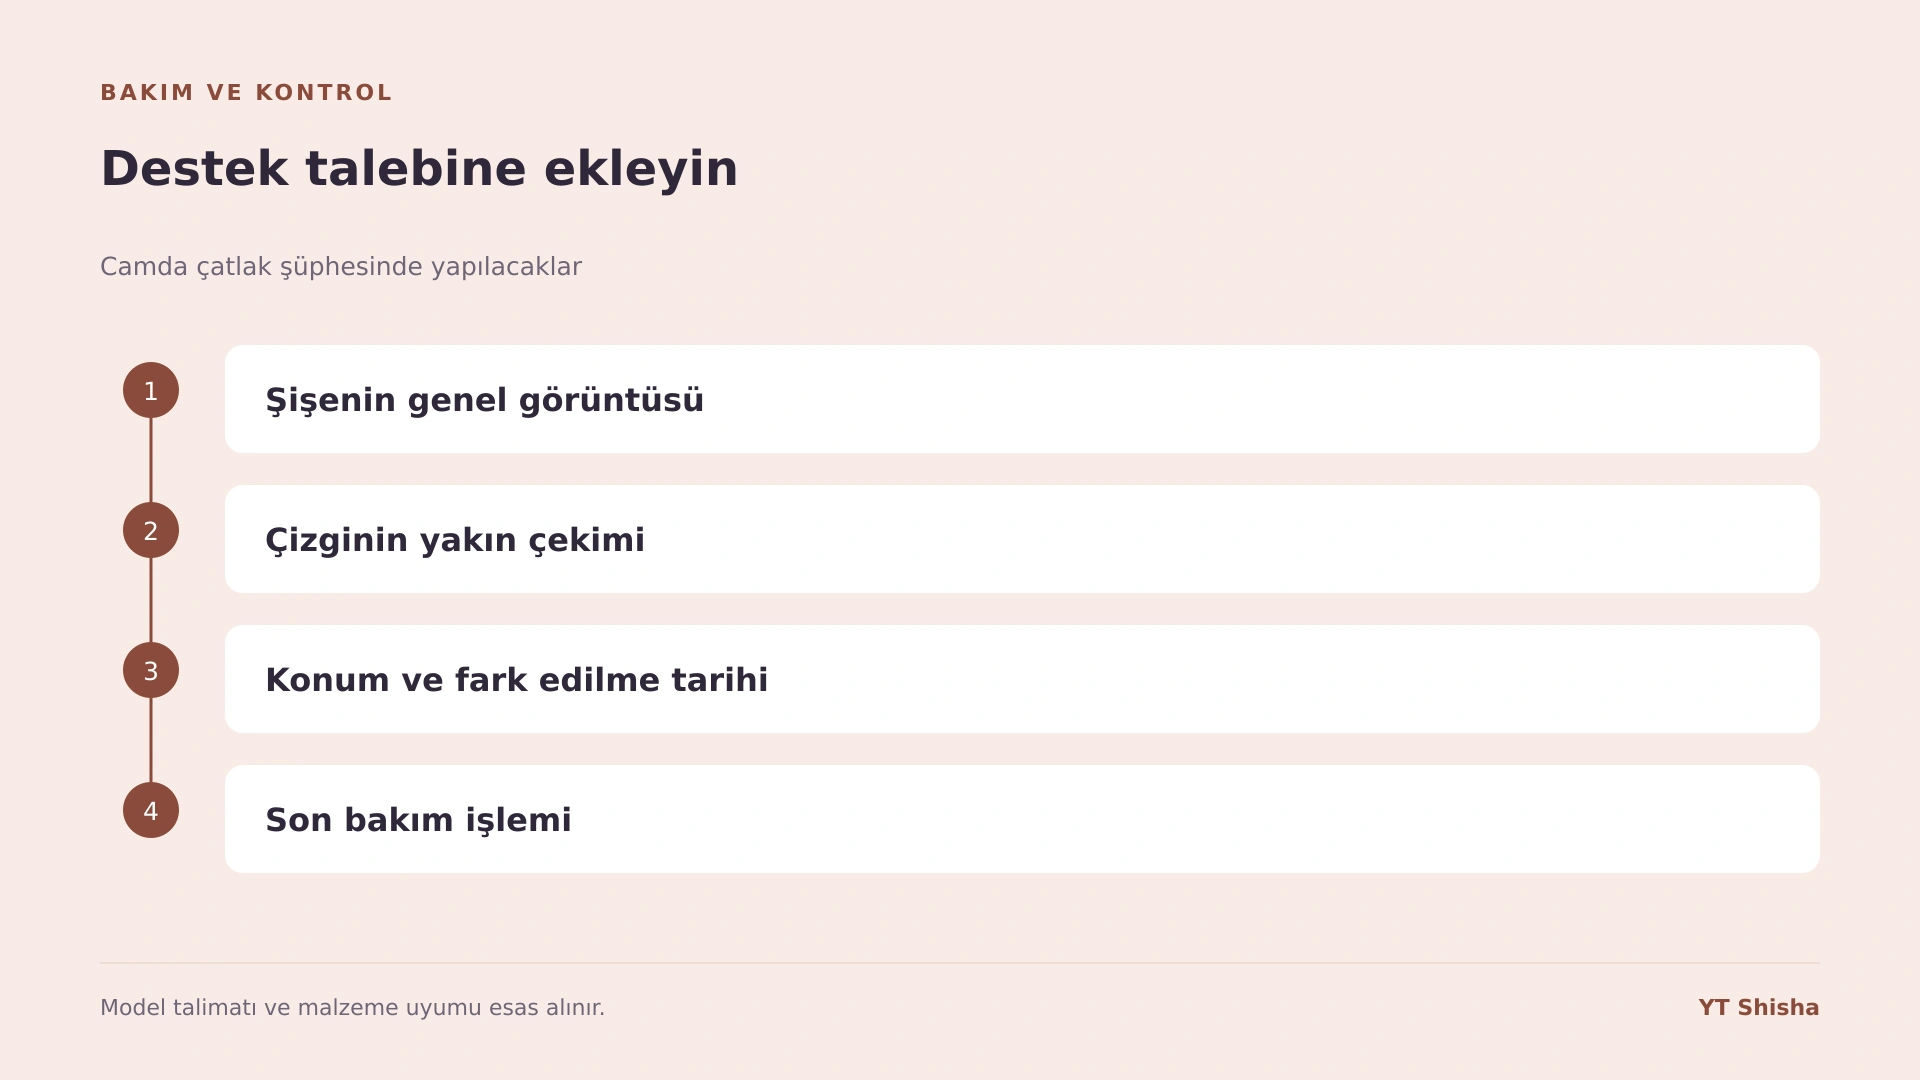
Photograph the entire part first, then the affected area. Using only an extreme close-up may make the mark’s location unclear. If a size reference is needed, hold a ruler nearby without touching the part. Do not feel the part by hand if breakage or sharp edges are suspected. Set up a calm work area where checking one section does not put stress on others.
Write observations separately from interpretations. Instead of declaring “definitely rust,” use a description such as “orange spot”; instead of “definitely mold,” use “dark area on the inner wall.” Add whether the change was noticed before or after cleaning. This does not minimize the problem. It conveys observed findings more clearly than a hasty diagnosis for an accurate assessment.
Prepare the cleaning area before bringing in the parts
Stacking many parts on the edge of a narrow sink does not make the job easier. First remove glasses, food, electrical appliances and unnecessary tools from the counter. Make sure the work area is dry, well lit and allows room to move. Avoid having to open doors or search for space while carrying parts. In particular, designate separate spaces for glass and heavy metal sections in advance.
Separate the area for uncleaned parts from the area for rinsed parts. You can do this with two clean trays or different sides of the counter. Check that a dirty cloth has not ended up underneath a clean part. Cloths and brushes must be free of sand, wire or hard residue from previous work. An unsuitable tool can leave new marks on the surface you are trying to clean.
If you need to take a break, do not leave parts in a walkway. Choose a stable location out of reach of children and pets. Keep small parts in a labeled container. If you are working on multiple sets, group each set's parts separately. This prevents parts from getting mixed up during maintenance and helps you remember where each connector belongs.
A care record makes the next decision easier
Keeping a record does not require a long form. A few sentences with the model name, the part inspected, the date and the changes observed are enough. Take before-and-after photographs from the same angle. Images taken under different lighting can exaggerate or understate color changes. Use a plain image showing surface detail instead of filters that make the photograph more attractive.
If you treated the part, record the exact name of the product used, which section it touched and how it was applied according to the manufacturer's instructions. If you waited for support without doing anything, record that too. This helps anyone inspecting it later distinguish a new problem from an old mark. If several people perform maintenance, keeping the record in a shared location where everyone can find it is useful.
At the next inspection, do not look only at the final photograph. Consider whether the affected area has expanded, whether similar marks have appeared elsewhere and whether the part encountered moisture in storage. These notes do not replace a technical diagnosis; they make the information request more specific. When needed, you can provide the manufacturer with an organized record clearly showing what was done instead of trying to recall the entire history.
Prepare a clear question when requesting support
When uncertain, gather information instead of repeating the same treatment. The part’s model, age, material description, and any previous repairs may change the assessment. Sending only an overall photo may be insufficient. State the affected section’s location, when the change was noticed, and whether it has grown since. Do not apply another treatment to check the part.
Keep three questions explicit in your message: What care can be applied to this part? Does the visible change require inspection? How should it be stored until assessment is complete? If the reply contains only general cleaning advice, request a separate explanation of the material or damage issue you asked about. Also check that instructions for another model were not sent by mistake.
After receiving a reply, compare the procedure with your own conditions. If the required tools, environment, or protection cannot be provided, do not improvise an approximate method. If technical inspection is needed, ask for packaging instructions for safe delivery. Add the written guidance to your maintenance record so a later recurrence does not force you to rely on a partially remembered conversation.
Stop work when the connection will not open
For example, imagine that the joint between the base and body will not come apart and you notice a line around the neck that you had not seen before. Separating the joint at all costs is not the priority. Stop applying force, support the part evenly, and photograph its appearance. Clearly explain to the manufacturer how you tried to disassemble it. Do not try again without a recommendation regarding hot water, oil, or another tool. The line may be new or may simply have gone unnoticed; do not force the part again to establish this. Reporting its current condition without altering it provides more useful information than guessing about the cause. If a technical inspection is requested, also ask how to transport it.

Frequently asked questions
Can a crack that does not leak be considered insignificant
No. Not leaking water at that moment does not replace an assessment of integrity and strength. Do not test the base by filling it or applying pressure. Separate the suspect part from the others and photograph the location of the visible line. You do not need to wait for a crack to grow or a leak to develop before deciding not to use it.
Is repairing it with glass adhesive enough
An adhesive holding glass together does not indicate that a repaired base is suitable for its original function again. Contact conditions, connection loads, and repair strength must be assessed separately. Do not return it to functional use without the manufacturer's guidance. Even keeping it for decoration requires safely managing sharp edges and the possibility of breakage.
How should I separate broken pieces
Do not try to pick up broken glass with bare hands. Keep people and animals away, and separate the pieces according to local waste rules. If you are asked to keep them for a technical examination, find out the appropriate safe packaging method from the relevant organization. Do not put pieces carelessly in a bag, leaving sharp edges hidden.